Priming Vape Coils — Your Quick & Easy Guide
Every! Single! Time!
You change the coil in your e-juice vape pen because the taste is getting a bit bland and boring. Out with the old, in with the new — the new coil is all shiny and clean… the flavor has to be perfect.
But…
It’s not!
Instead, what you get with your first puff is a mix of burning cotton and old socks that a teenager fished from under the bed.
Awful, right?
Well… there’s a way to get rid of that, did you know?
What happens is — you keep forgetting to prime your vape coil before using it! That’s why you’re getting those dry ass hits. That’s why you’re hesitant to even change your coil. And that’s why you want to smash that vape pen against the wall every time you do end up changing the coil!
Well, that stops today.
In this post, we’re gonna talk about how to prep your coils before vaping so that your experience is always flawless.
Let’s dig in!
What is Coil Priming?
Coil priming means preparing your new vape coil before using it.
Basically, using your e-liquid, you will saturate the wicking material in the coil head. This will stop the wick from burning once you press the fire button.
Don’t worry — you don’t have to prime your coils before every use. Once is enough — the very first time that you use the coil. After that, you are good to go and don’t need to bother with that until you toss out the coil and get a new one.
By the way, if you want to read about newest options regarding cartridges, click here.
Why Do You Need to Prep Your Vape Coils?
To eliminate burnt taste and dry hits.
When an atomizer coil is fresh, the wicking cotton is completely dry. Since it is making a connection with the coil, once heated, the cotton will burn.
And it’s not gonna taste like candy, trust me.
By pre-saturating the coil, you will prevent this from happening. Instead of burning the cotton, the coil will create vapor from the liquid that’s inside the wick.
Another great reason why you should always prime your coil is the taste. This process adds intensity and robustness to the flavor of your vape juice. Initial “overflooding” of both your cotton and coil will create an explosion of rich flavors from the very first hit. Besides, since you have bypassed blazing the cotton, the flavor marred with a burned aroma.
And lastly, you won’t ruin your perfectly good coil right off the bat. Yes, not priming your coils will inevitably kill the coil and you will not be able to repair it. So, simply dedicate a few minutes of your time to the coil and you will enjoy it longer without spending too much cash on the new ones.
How to Prep New Coils for Vaping
Okay, so I covered why you should do it, but now let’s jump to the practical part. Priming your coils isn’t an exact science but you can mess it up pretty fast if you are not careful.
Follow these simple steps and everything should be just fine.
Step #1

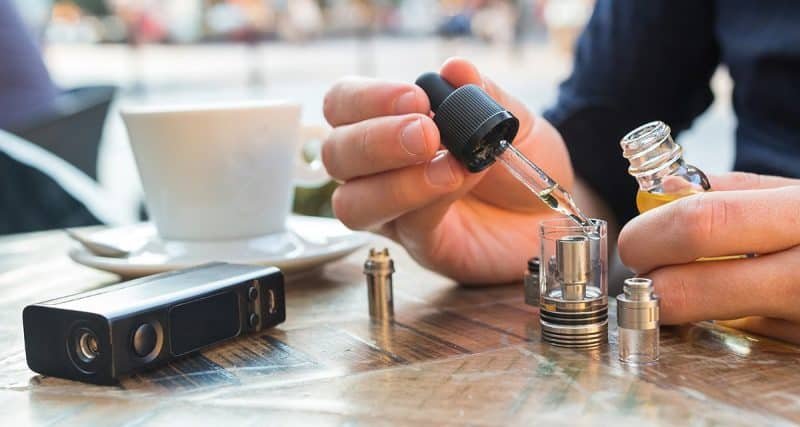
Take your new coil out of the packaging, find the juice holes , and prepare a small vape juice bottle with a dripper. The size of the dripper will depend on the size of the holes but, generally speaking, the smaller, the better.
Step #2
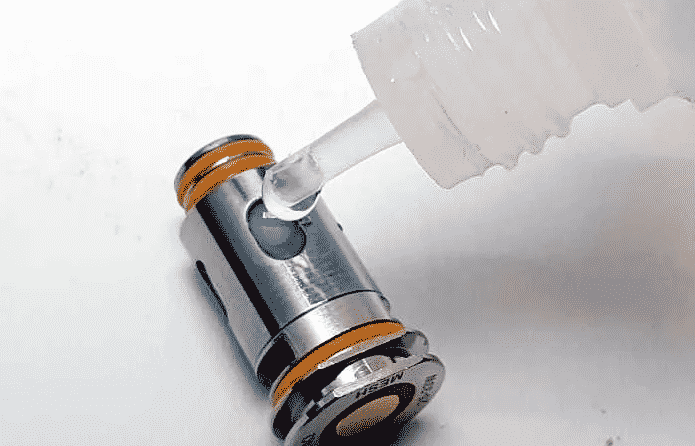
Drip it real good! Don’t be stingy with the vape juice, remember the coil and cotton inside it are completely dry. Allow the cotton inside the atomizer to soak everything. You will see when it’s enough once look through the holes and see everything is completely wet.
If you go a bit overboard with dripping, don’t be alarmed. You can simply flick the coil to let the excess juice come out. Keep in mind that you need to do this before you insert the coil inside your tank.
Step #3

Insert your coil and fill your tank with vape juice. This one is pretty straightforward, but be sure to refit your coil if needed. Check the tank once more for any leakage, and if everything is a-okay, you can proceed to the next step.
Step #4
This step is, by far, the worst one. For me.
Once you’ve done all of the above, you will need to wait. Give your device a few minutes so that juice inside the tank can additionally soak your coil and cotton.
I know you did that process right at the beginning, but if you want to be 100% sure everything is nicely done don’t skip this part.
Step #5
Your first primer puff, or a few of them. The primer is the puff that you take without pressing the fire button. You’re doing it to get the juice that’s inside the cotton moving and saturating the whole coil.
The best practice is to take several of these.
Step #6
We are almost there!
If your device has variable wattage/ adjustable power it would be best to turn it down. Fire it like that for a few puffs and keep turning on the power with every new one. Do it like that until you reach your preferred wattage and you are done.
This might look complicated and bothersome, but trust me in reality it only takes a few minutes to set this up. Once you get a hang of it, you will be doing it without thinking.
Never forget to prime your vape coils!
How To Break In Vape Coils
What does breaking in the coil even mean?
Well, if you are using a rebuildable atomizer then you should also know that it is not enough to insert the cotton once the coils are set up inside and go to town.
Before you go any further, you will need to tamper with them, properly break them in. This will ensure that the vape coil has the longest lifespan possible.
The process takes a while, but important, as you will get the most out of your coils in doing so. This, of course, is something you need to do if you are using your coils for the first time. If you are just changing the cotton, it’s a completely different story.
Let’s get to the steps.
Step #1
Check your vaporizer’s wattage before you start anything else. Start with the lowest recommended setting.
Step #2
Go with small hits at first. Take several of them as this will start the “breaking-in” process.
Step #3
Now you can start increasing the wattage. But, don’t go too high too fast. Start with a 5 watt increase, take a few regular puffs, and then bump the power again by another 5 watts.
Keep repeating this until you reach the desired wattage.
Step #4
Enjoy. 🙂
How To Prepare MTL Vape Coils
Mouth-to-lung coils are specific because they have resistances higher than 1.0 ohms. They are very popular with former smokers since they mimic the process of smoking regular cigarettes. If you decided to start vaping not so long ago, and are currently transitioning from heavy smoking I highly suggest starting off with an MTL device.
I won’t bother you too much with details as the steps for priming an MTL vape coil are somewhat similar to regular coils, except that you don’t need to pre-drip your coils. The process is fairly simple. Install your new coil in the tank, fill it up with your e-liquid and let it sit like that for 5 to 10 minutes. This way your wicks will be fully saturated and ready to go.
A word of advice, try not to be impatient.
What Happens if You Don’t Prep Your coils?
Two scenarios can happen if you don’t prime your coil or do not follow the steps properly.
Skipping the Priming Process
Not priming your coil properly will burn it completely and there is no way to repair it. You can toss the coil in the trash can and start from scratch because the taste of burnt cotton will stay until you decide to insert a new one.
If you have a dry taste, muted flavor, or not much vapor production, stop vaping and repeat the priming process. This can happen, so don’t be too harsh on yourself. Even experienced vapers can sometimes mess this up.
Not to worry, you shouldn’t have to do it more than twice. But, if you keep priming the coil and still are not getting anywhere your coil may be DOA (dead on arrival). I would like to tell you that this doesn’t happen that much, but… Buy a few coils at once just to be sure.
Flooding Your Coil
If you drip too much juice in your coil, you will notice it once you take your first regular puff. You will hear a specific gurgling sound, and there is a possibility your device will be spitting vape juice.
Be careful not to get burnt (that’s why you don’t go all high at the beginning). Don’t panic if you ingest a drop or two of the liquid, you’ll be ok. Now, you won’t need to disassemble everything, don’t worry. Every time this happened to me I used this simple yet effective technique.
Take a paper towel, fold it over the mouthpiece of your device and turn it upside down. Shake it several times (you will notice excess juice getting absorbed by a paper towel) and let it cool down a bit. After a few minutes give it another go. If you’re still experiencing the same result, just repeat the process.
Prime Your Coils & Vape Like a Boss
And there you have it — everything that you need to know about priming your coils… and then some.
Remember — it’s not difficult, and it doesn’t take an hour.
But…
It will definitely make your vaping experience that much better.
Whenever you feel like you don’t want to prime your vape coils — that you don’t have the time or the energy — just think about that last dry hit and use that memory to find two minutes to do it.
It’ll be worth it.
Hey, You’re Still Gonna Have to Prime Your Coil… But Kind Lasts Longer!
Easy to Use Vapes I Built to Last I I Great for Beginners 100K + Happy Customers


Source link
https://thedailyhealthjournal.com/priming-vape-coils-your-quick-easy-guide/
Comments
Post a Comment